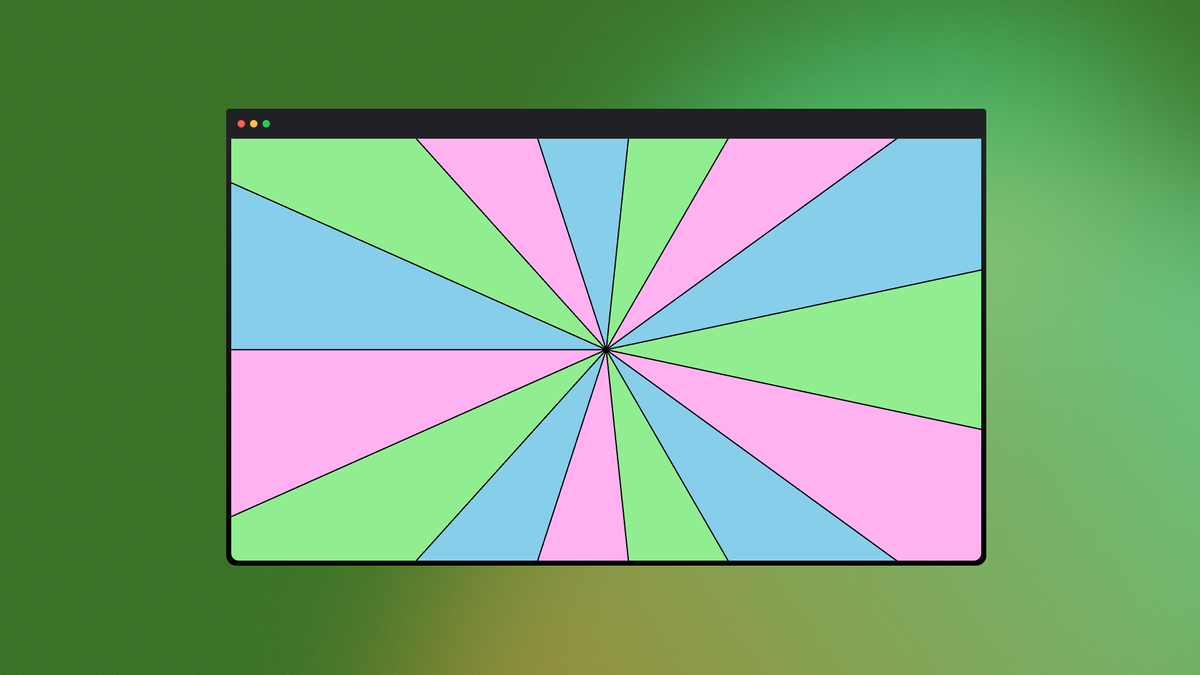
How to Code Sunburst Animation in Python: 3 Easy Steps
In this post, you'll learn how to create your first animation with TastyMotion.

Introduction
TastyMotion is a modern framework for creating animation in Python. It's fast, easy-to-use, and comes with a media player for instant preview and hot-reload during working on the animation.
Visit About page to learn more about the TastyMotion project.
What You'll Learn
In the previous post How to Create Sunburst Animations in Python we saw how to create various sunburst animations using just one Python function — Sunburst2D() — implemented using TastyMotion framework.
Today, we go over the internals of Sunburst2D() to learn how it works. We are going to learn essential concepts and primitives — everything you ever need to create your own animation using TastyMotion. The complete code of the final animation is available in the sunburst.py file in the TastyMotion/examples repository on GitHub.
Prerequisites
With TastyMotion, creating stunning animations is easy. It's designed to be simple and intuitive, so that you can focus on expressing your creative ideas, instead of fighting with coding challenges.
You can start using TastyMotion with minimum knowledge of Python — no expert tricks is required. How to Code in Python is an excellent tutorial series to learn basics of Python.
Step 1 — Create TastyMotion Project
To get started with TastyMotion, we need to create a new project. Every TastyMotion project is a regular .py file with a Main2D() function. The TastyMotion runtime calls Main2D() to create a main clip and render it on the screen or to the file.
An empty project contains an empty canvas, like this:

Let's create a new file sunburst.py and define a new empty project:
# 1️⃣ — Project File
import tastymotion

# 2️⃣ — Main Clip
def Main2D():
    return tastymotion.Clip2D('sunburst', 1200, 800)

# 3️⃣ — Project Player
if __name__ == '__main__':
    tastymotion.preview(__file__)
The sunburst.py file with an empty TastyMotion project
To preview this project, run the following command in the terminal — this opens a new window of TastyMotion player showing an empty scene, like on the image above:
$ python3 sunburst.pyRunning TastyMotion player to preview sunburst.py project
1️⃣ import tastymotion starts every TastyMotion project — a regular .py file that contains a Main2D() function. In your project, you can also use other Python libraries.
2️⃣ Main2D() creates a Clip2D object — the main clip in the project. TastyMotion runtime calls Main2D on start (similar to how C++ runtime calls main() function). Main2D() returns a main clip — an object of Clip2D class — that render engine displays on a screen or renders to a file.
3️⃣ preview() function starts TastyMotion runtime and opens TastyMotion player window.
Before we move on let's refactor our project and define a dedicated function — Sunburst2D() — specifically for the sunburst clip. This way, we can introduce extra configuration parameters, re-use our animation in other projects, and share it with other people. The final structure looks as following:
# 1️⃣ — Project File
import tastymotion

# 4️⃣ — Sunburst Clip
def Sunburst2D(
    clip_size=(1200, 800),
):
    width, height = clip_size
    clip = tastymotion.Clip2D('sunburst', width, height)

    # TODO(dev727): Implement sunburst animation

    return clip

# 2️⃣ — Main Clip
def Main2D():
    return Sunburst2D()

# 3️⃣ — Project Player
if __name__ == '__main__':
    tastymotion.preview(__file__)
The sunburst.py file with a dedicated Sunburst2D() function
4️⃣ Sunburst2D() returns a newly created sunburst clip. From now on, we focus exclusively on the Sunburst2D() function.
In this step, we learned how to create an empty TastyMotion project and run it from the command line in the TastyMotion player.
Step 2 — Draw with Clip2D API
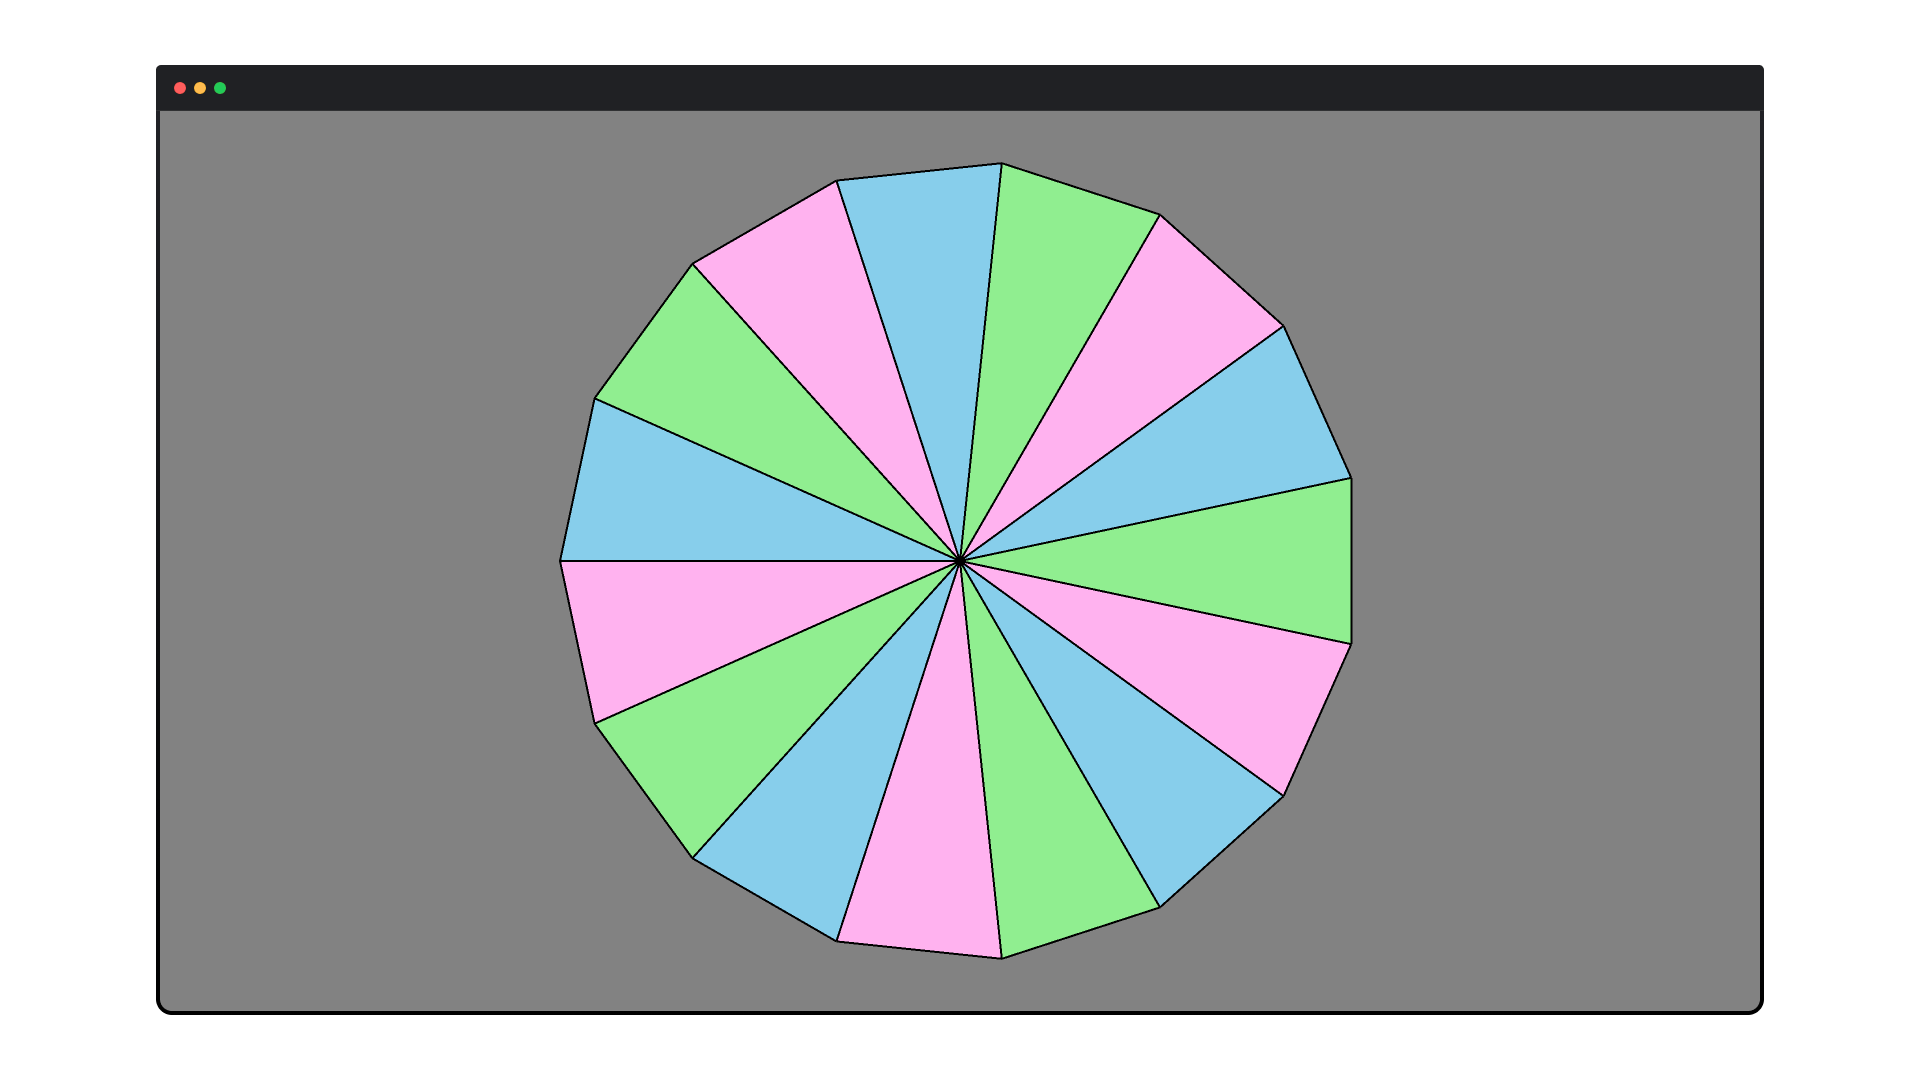
Let's move on and start drawing on the canvas. We can draw a radial sunburst as a bunch of triangles with a common vertex in the center that looks as following:

For drawing a triangle we use fill_triangle() method of Clip2D class. It's part of the Clip2D API for drawing graphics on the canvas, inspired by the Canvas API for drawing on the HTML <canvas> element using JavaScript.
For rotating and translating the canvas we use rotate() and translate() methods of the Clip2D class. Similarly, they're part of the Clip2D API for transforming the canvas.
That's all we need to know to draw a sunburst graphics on the canvas. The final code to draw the image above is the following:
def Sunburst2D(
    clip_size=(1200, 800),
    colors=["pink", "green", "blue"],
    radius=200,
    repeat=3,
):
    width, height = clip_size
    clip = tastymotion.Clip2D('sunburst', width, height)

    # Calculate geometry
    n = repeat * len(colors)
    cos_ = math.cos(math.pi / n)
    sin_ = math.sin(math.pi / n)

    # 5️⃣ — Translate to the center
    clip.translate(width / 2, height / 2)

    for color in repeat * colors:
        clip.fill_color(color)
        # 6️⃣ — Draw a sunburst ray
        clip.fill_triangle(
            0, 0, radius * cos_, radius * sin_, radius * cos_, -radius * sin_
        )
        # 7️⃣ — Make room for the next ray
        clip.rotate(360.0 / n)

    return clip
Sunburst2D() function to draw a static sunburst graphicsLet's look at the new code in more details:
5️⃣ Clip2D.translate() moves a drawing pen from its current position along the axes by dx and dy pixels. Initially, the drawing pen is in the upper-left corner, which corresponds to the (0, 0) coordinates. Centering the pen allows to rotate the canvas around its center and makes drawing math simpler.
6️⃣ Clip2D.fill_triangle() draws a triangle that represents a single sunburst ray. Its first vertex lays in the center, while two others lay to the right, symmetric to the x-axis.
7️⃣ Clip2D.rotate() rotates the canvas to make space for the next ray we're going to draw. This way the math stays simple with no need to calculate cos_ and sin_ for each ray individually.
In this step, we saw how to draw graphics primitives on the canvas and transform it using the Clip2D API.
Step 3 — Animate with Knobs & Tweens
From the previous step, we already know how to draw on the canvas using Clip2D API functions. In this step, we'll turn a static sunburst image into the following animated clip:
Preview of the animated sunburst clip
To animate a canvas, TastyMotion defines two concepts — knobs and tweens:
- Knob is a placeholder for some value, like position, color, or scale. Use knobs as arguments to Clip2D API function for drawing and transforming the canvas. When value of the knob is changed (by the tween), a new value is instantly passed to all places where the knob was used and the scene is drawn using a new value. This concept is similar to reactive state propagation, popular in front-end framework, like React or Vue.
- Tween is a slider that defines how value of the knob changes over time between its initial and final states. In animation, the term tween is short for in-between. By controlling how a tween behaves (e.g., linear, ease-in, or bounce), you can dictate the style of your animation. For our sunburst example we use
Lineartween, which make linear interpolation between values. Yet, there are other approaches too for various easing effects.
The final code for the sunburst clip is the following:
def Sunburst2D(
    clip_size=(1200, 800),
    colors=["pink", "green", "blue"],
    radius=200,
    repeat=3,
):
    width, height = clip_size
    clip = tastymotion.Clip2D('sunburst', width, height)

    # Calculate geometry
    n = repeat * len(colors)
    cos_ = math.cos(math.pi / n)
    sin_ = math.sin(math.pi / n)

    # 8️⃣ — Define Initial-Angle Knob
    phi = tastymotion.Knob("phi")

    # 5️⃣ — Translate to the center
    clip.translate(width / 2, height / 2)

    # 9️⃣ — Set Canvas' Initial Angle
    clip.rotate(phi)

    for color in repeat * colors:
        clip.fill_color(color)
        # 6️⃣ — Draw a sunburst ray
        clip.fill_triangle(
            0, 0, radius * cos_, radius * sin_, radius * cos_, -radius * sin_
        )
        # 7️⃣ — Make room for the next ray
        clip.rotate(360.0 / n)

    # 🔟 — Define Clip's Timeline
    clip.tween(
        Linear(phi, 0, 360, duration)
    )

    return clip
Sunburst2D() function to create an animated sunburst clipLet's look at the three new steps we've introduced to animate the canvas:
- 8️⃣
Knob("phi")object contains ... - 9️⃣
Clip2D.rotate()fixes angle of the canvas before we start drawing. This way all primitives drawn later feel rotated byphidegrees. - 🔟
Clip2D.tween()sets the main tween of the clip — aLineartween. It variesphifrom 0 to 360 degrees fordurationseconds creating a radial rotation effect.
In this step, we learned two essential concepts responsible for animation in TastyMotion: knobs and tweens.
Final Thoughts
Using TastyMotion framework, we can create a sunburst animation in Python in just 3 easy steps:
- Create a TastyMotion project file
- Draw graphics primitives using Clip2D API
- Animate a drawing using knobs and tweens
A TastyMotion project file is a regular Python script. No advanced Python features were used (like generators, context managers, or coroutines) — but you can use them in more advanced projects — basic knowledge of Python is enough to start with TastyMotion and create stunning animations.
Clip2D API is draw graphic primitives with ...
Tweens and knobs — core concepts for Animation in TastyMotion.
The final result is a customizable Python function that creates a sunburst animation which you can reuse in other TastyMotion projects.
What's Next ?
Subscribe for this blog. By subscribing, you are guaranteed not to miss latest updates and new inspirations for creating animations in Python!
Remember, TastyMotion is a new framework with new features and examples coming out regularly.